One easy disk to use for installing an operating system is a bootable USB drive. Several contemporary computers lack a CD/DVD drive, which is necessary for installing or upgrading an operating system. In Windows operating systems, you can generate a bootable USB using the command line (7,8,8.1,10, and 11). A bootable USB drive has various benefits, including the ability to install or upgrade an operating system, debug and repair issues, recover lost data, test new applications, and run portable operating systems.
Unfortunately, it is not possible to make a bootable USB using earlier versions of Windows.
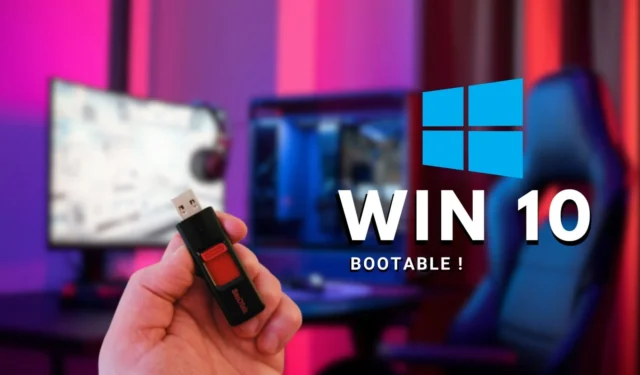
How to make a bootable USB device for a new installation of Windows
Step 1: Make sure the USB drive is properly formatted (exFAT) before using it to get the most out of it.
Step 2) Next, go to the Microsoft website and click the “Download Tool now” option next to “Build Windows 10 installation media” to start the download of the Windows 10 Media Creation Tool.
")
Step 3: Double-click the Media Creation Tool file to launch it by going to the place where you downloaded it.
Step 4) Click “Accept” to agree to the Microsoft terms and conditions.

Step 5) Click “Next” after selecting “Make installation media (USB flash drive, DVD, or ISO file) for another Machine.”

Step 6) Choose the architecture, language, and edition you want to utilize. By selecting the “Use the recommended parameters for this Computer” checkbox, you can maintain the same language, edition, and architecture as your existing configuration. Alternately, you can change these choices by selecting them from the drop-down menu. Choose “Both” from the Architecture drop-down selection if you’re not sure whether you require a 64-bit or 32-bit architecture.

Step 7) Click Next after selecting USB flash drive.

Step 8) Choose your USB drive from the list, or, if you can’t see it, click “Refresh drive list.” Then click “Next.”

Step 9) The files will be downloaded and installed to your USB drive by the Media Creation Tool. Depending on how quickly your internet is, this process could take a while.

Step 10) Open File Explorer and check your drives under the “This PC” section to ensure that you have successfully built a USB device that can launch the Windows 10 installation program. The name of your drive should now be something like “USB-ESD,” which is short for “Electronic Software Delivery.” You should be able to see the boot files and a “setup.exe” file when you first open the drive.

Steps to use the bootable USB drive are as follows:
- Your computer should detect the USB disk.
- Enter the BIOS firmware after restarting your computer.
- Your USB device should now be the boot drive. Ask the maker of your machine for guidance if you don’t know how to access the BIOS. The procedure may change based on the manufacturer.
- Exit the BIOS after saving the modifications.
- The USB drive should now start your machine up. If not, follow the preceding instructions once again or ask the manufacturer for more help.
Related Articles:

Microsoft CEO Responds to Concerns About Xbox’s Future Amidst Corporate Changes
13:24
Microsoft Closes Discord Server Due to ‘Microslop’ Spam Surge Amid AI Controversy
4:01
How to Update Secure Boot Certificates on Windows 11 as Microsoft Replaces Expiring Ones – Complete Guide
17:42
Leave a Reply